Please note: Custom Foods is a feature included in the Advanced Nutrition Add-on. More on that here.
Custom foods (as well as custom meals) can only be added on the web in the Master Libraries section.
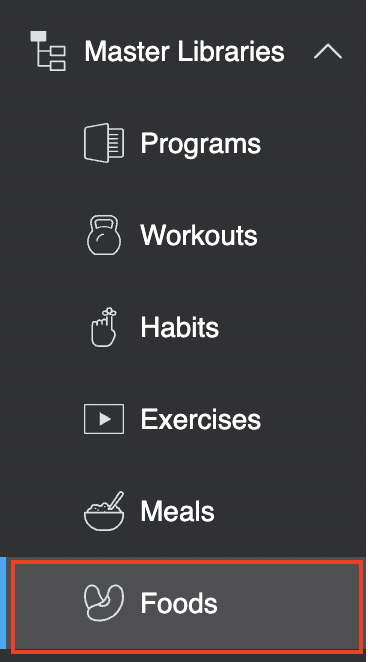
1. Under Master Libraries on the left, click Foods.

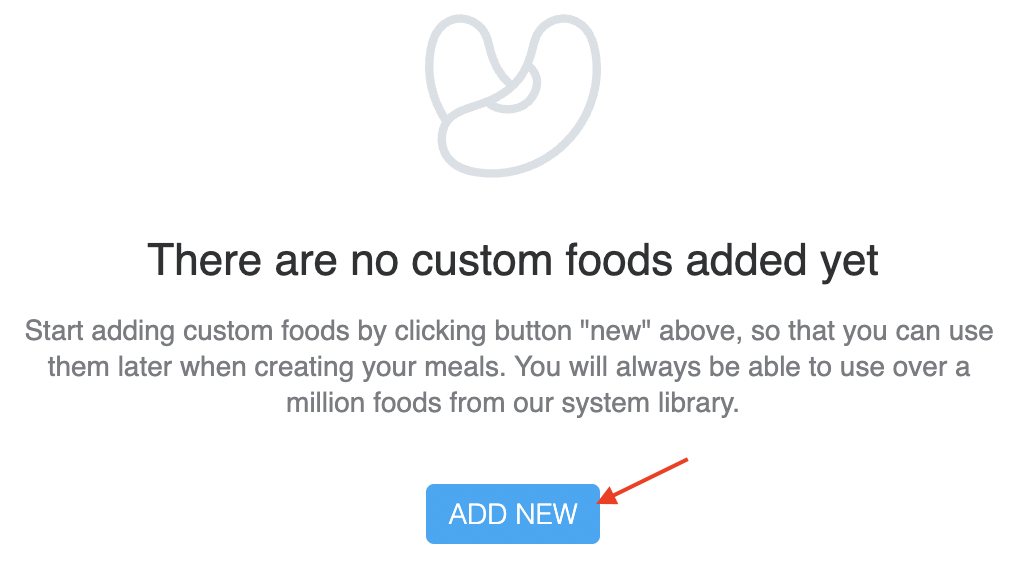
2. If you do not have any custom foods added, you will see the ADD NEW button in the middle of the screen as shown below.

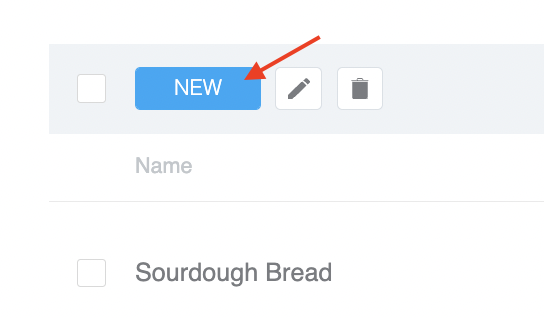
Every subsequent food you add will require you to click NEW at the top right.

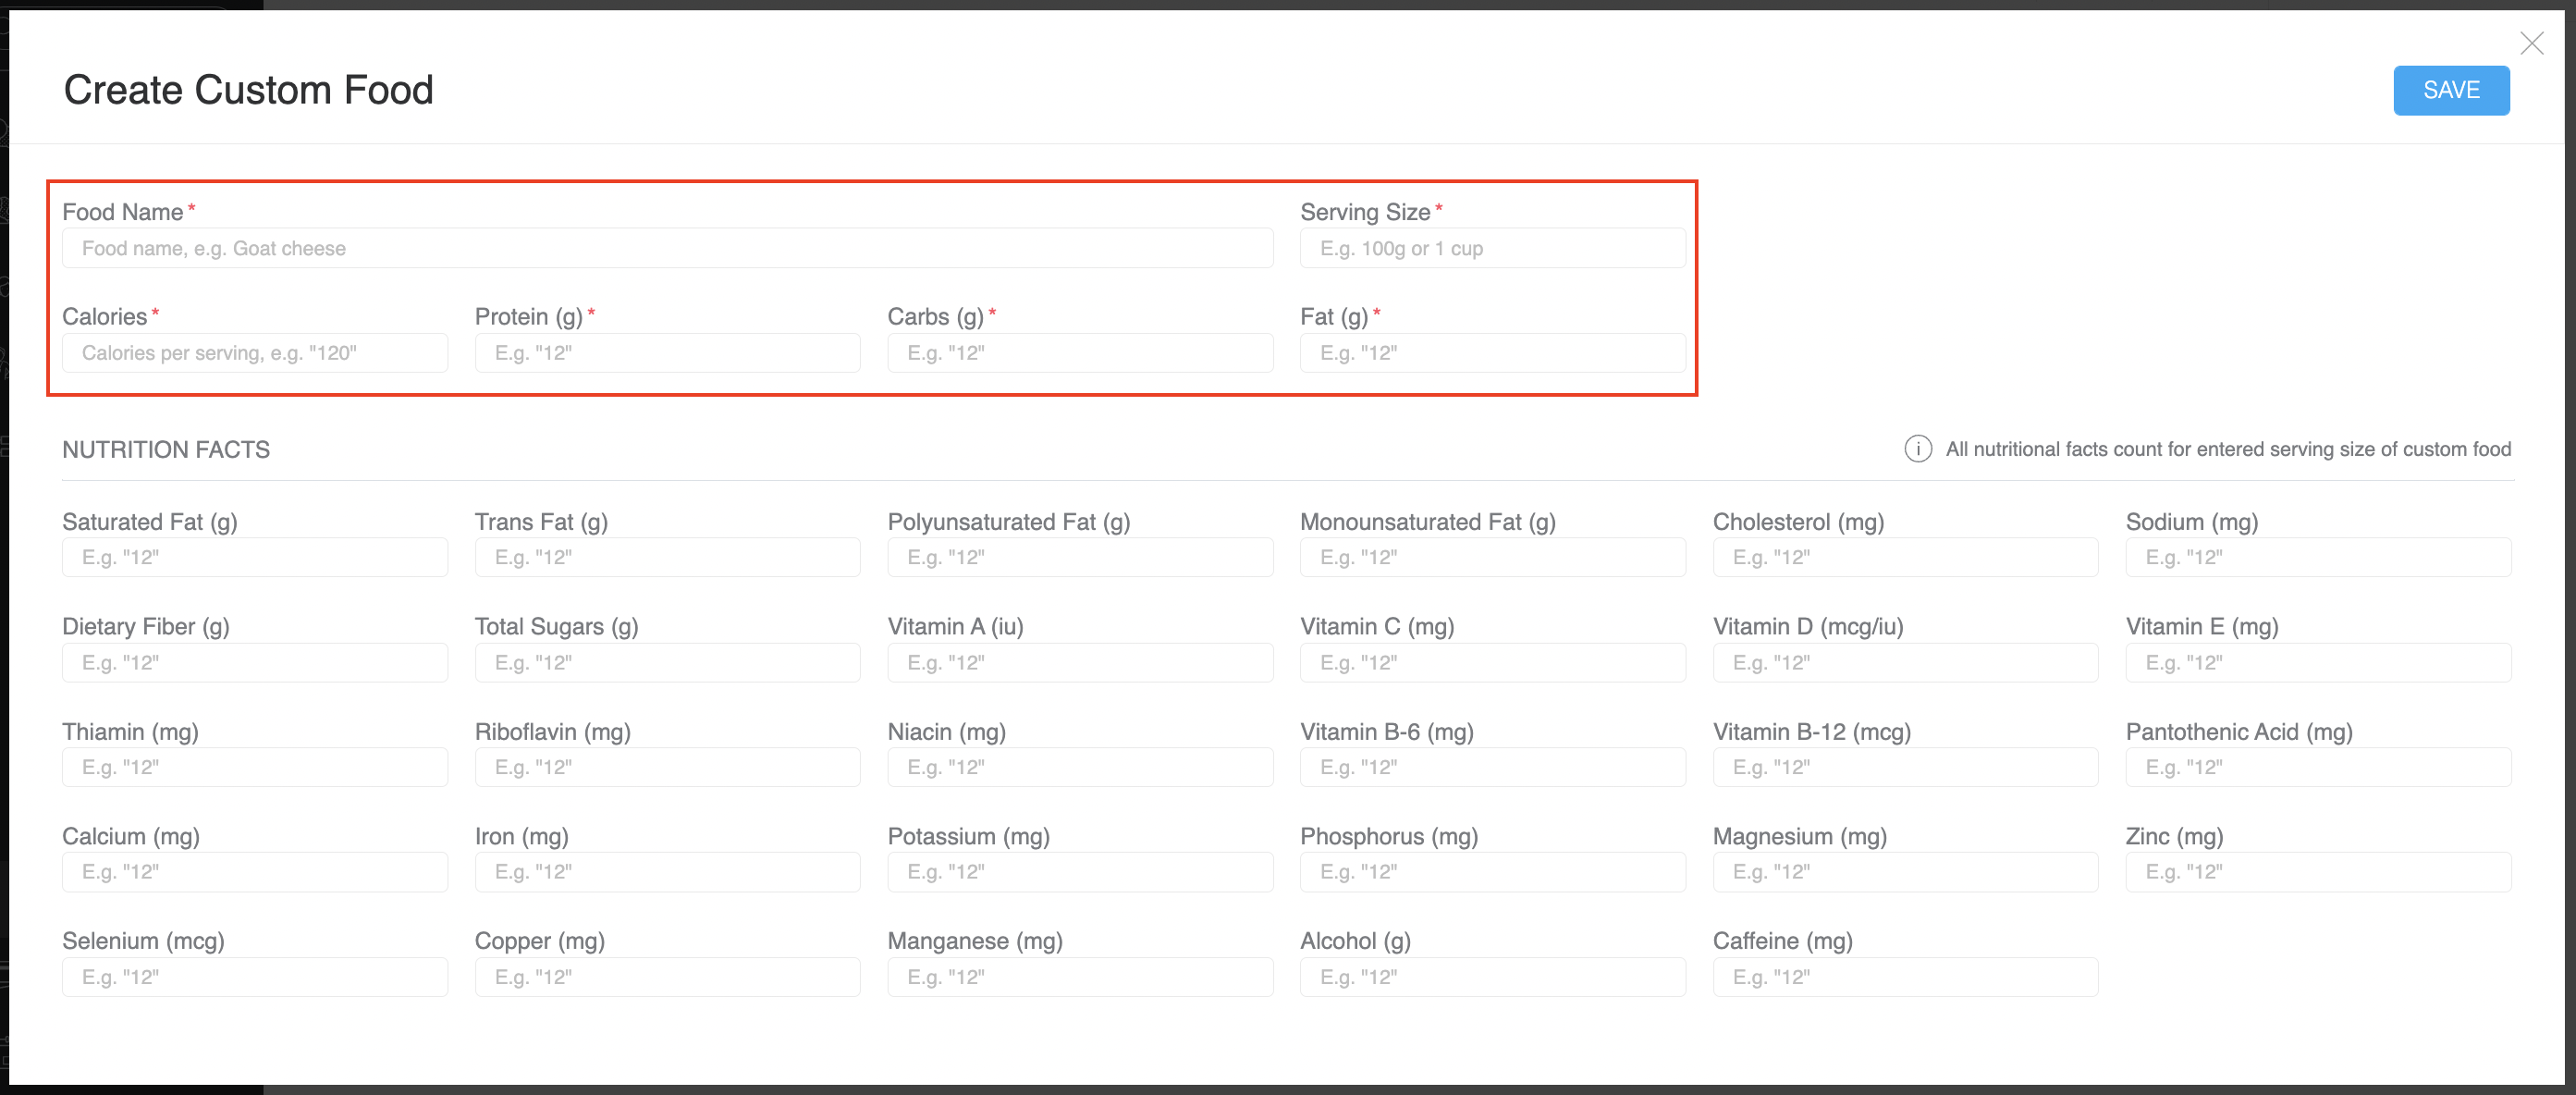
3. In the pop-up dialogue, you will see quite a few boxes to fill out. In order to create and save a food to your library, you only need to enter the Food Name, Serving Size, Calories, Protein, Carbs and Fat. The Nutrition Facts option below that is optional.

Mandatory fields:

4. When you're done, click SAVE at the top right and your food will appear in a list on the main screen.

The next time you go to create a custom meal, you will be able to search for the custom food you added!

Note: To edit or delete a food, simply click on the food and a pop-up will appear.


