Adding a new custom meal to your library is quick and easy! Learn more here: How to add a custom meal to your Meals Master Library
In this article we will show you how to begin creating a custom meal and save the progress you made without sharing it with your clients right away.
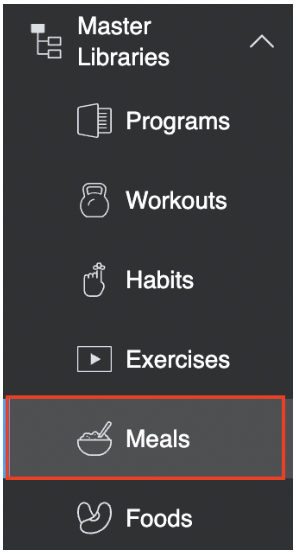
1. Under Master Libraries on the left, click Meals.
2. Click the NEW button at the top left of the screen.

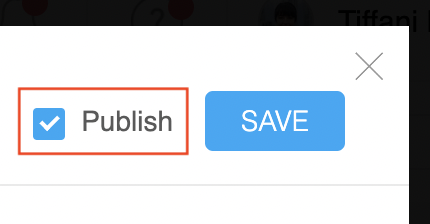
3. In the pop-up dialogue, you will see two tabs to fill out: Meal Details and Recipe. To learn more about filling out the Meal information click here. At the top right of the pop-up dialogue, notice there is a Publish option to the right of the SAVE button.
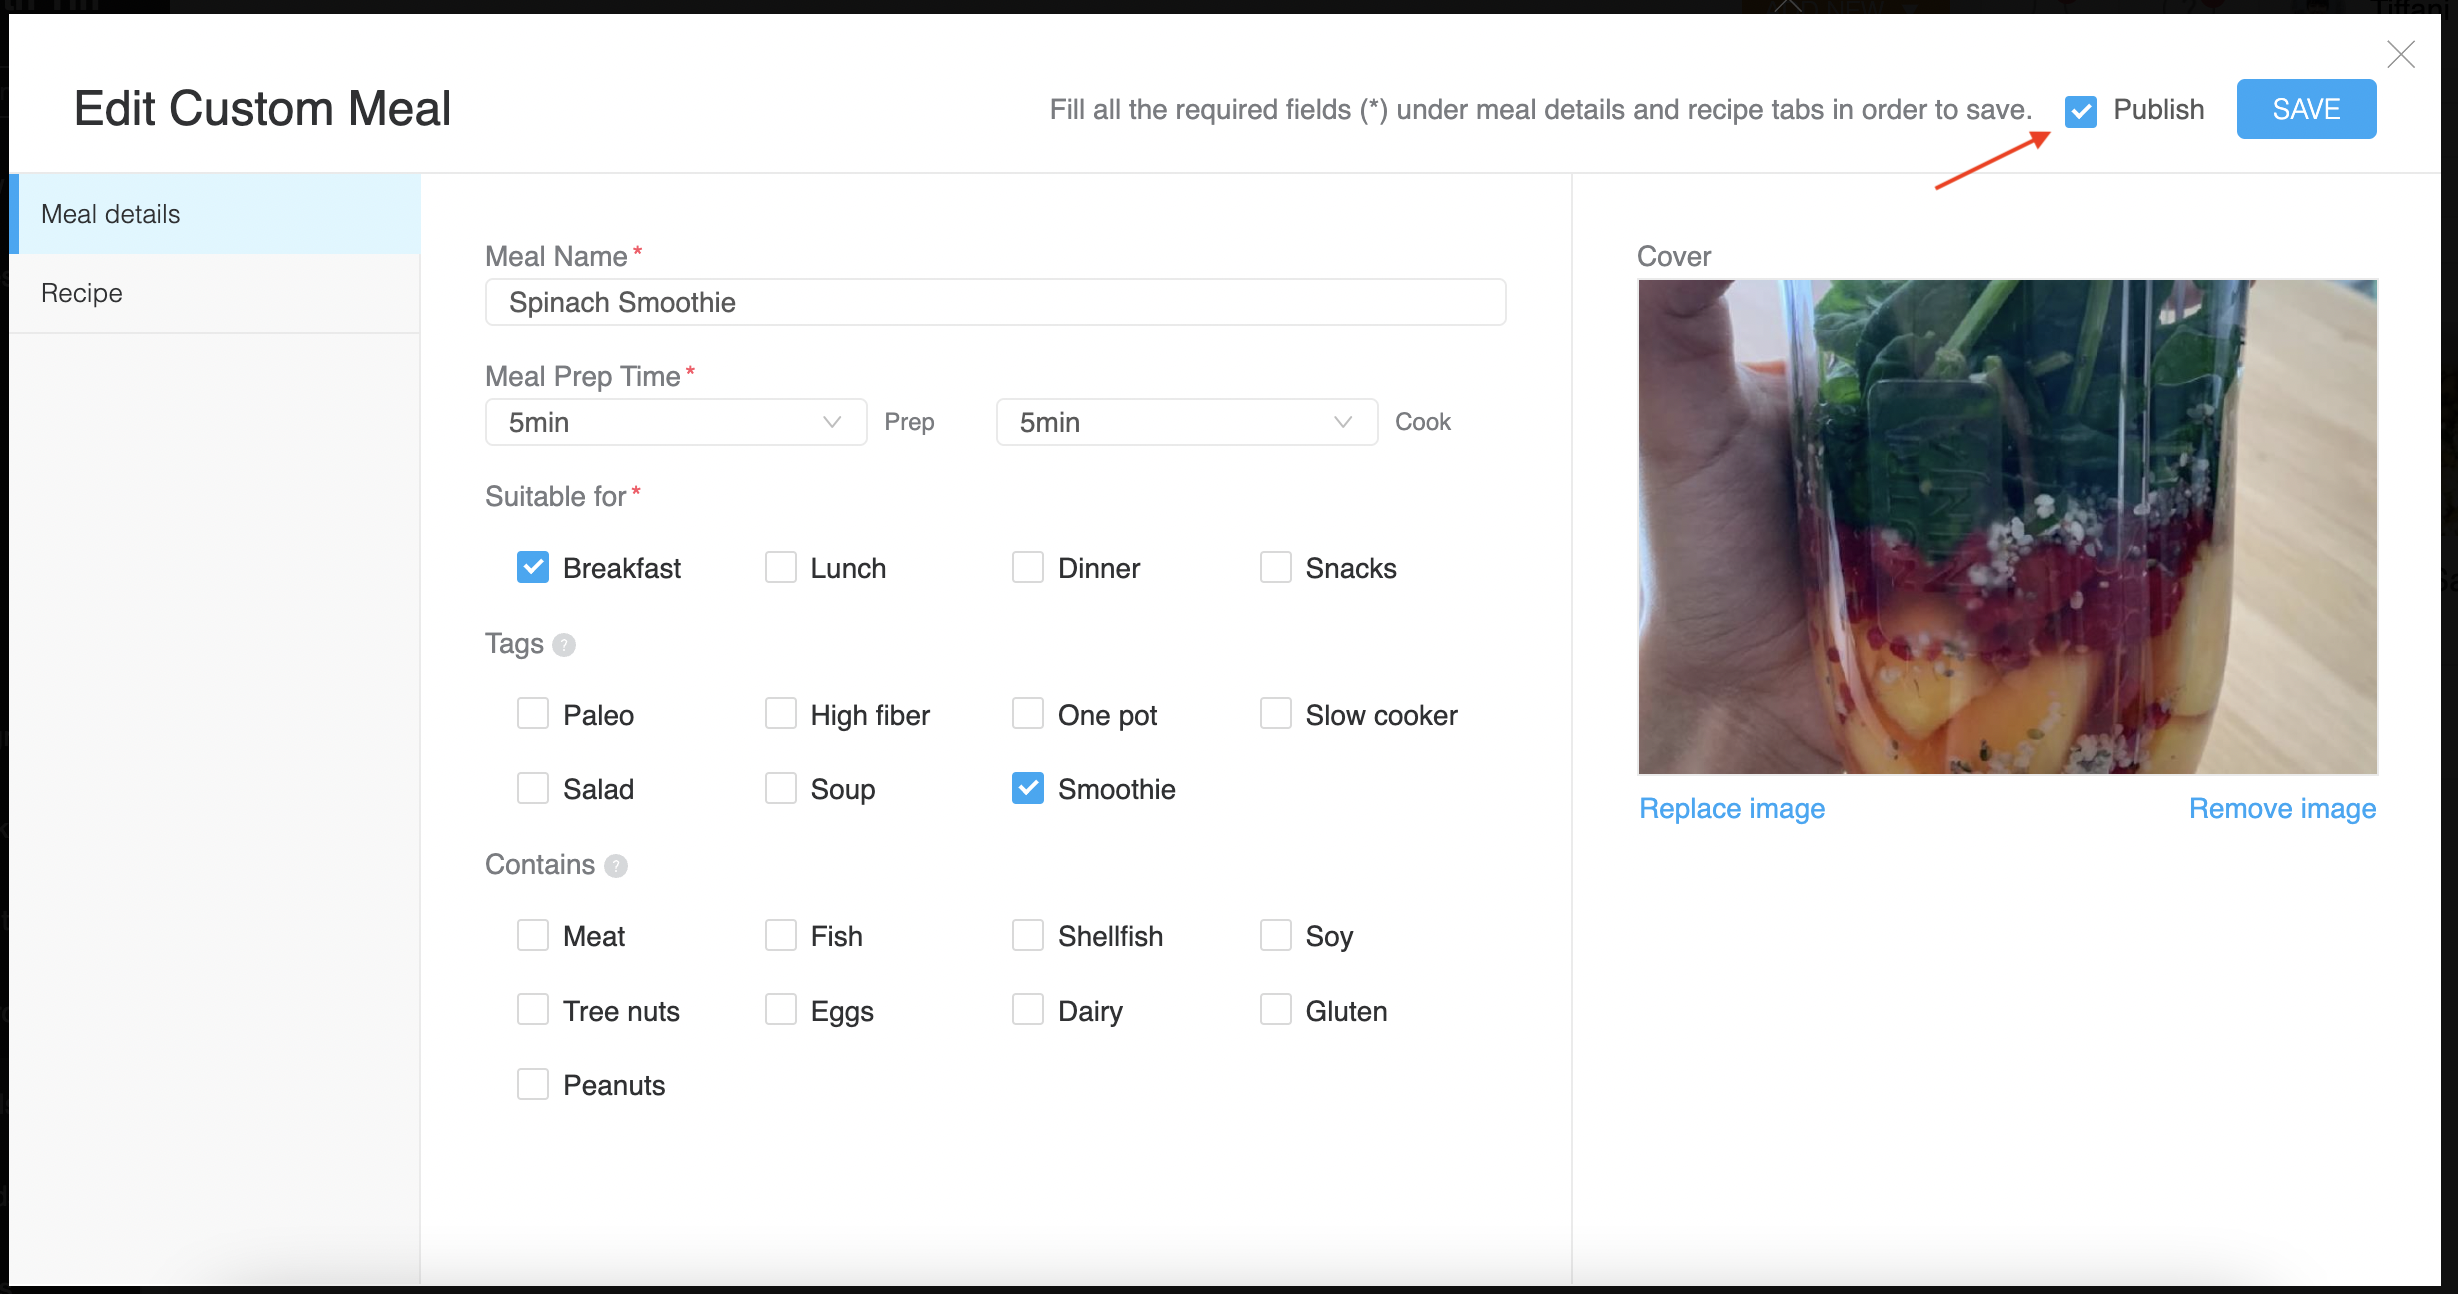
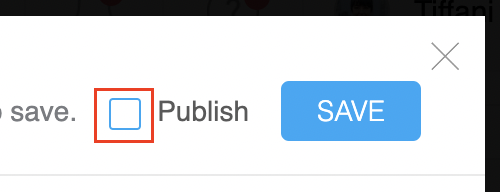
4. Ensure the Publish option is not selected before you click SAVE.
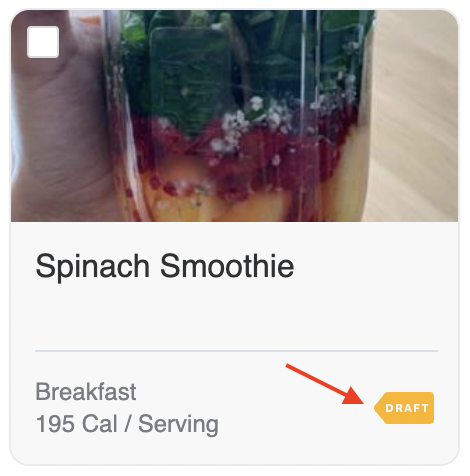
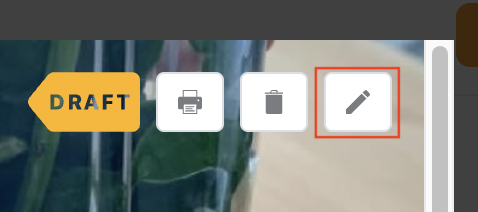
When you go back to your client list, you'll notice there is an orange Draft icon on that meal. This is how you know you successfully saved your meal as a draft!
To go back to fill out the Meal information and publish it for your clients to see, click on the meal from your list, select the edit icon.
When you've completed the edits, ensure Publish is selected and click SAVE.
Related Articles
- How to Create a Nutrition Goal for a Client
- How to Measure Workout and Nutrition Compliance
- What syncs and what can I track from MyFitnessPal in Trainerize?
- How to Monitor Client Nutrition with Fitbit


