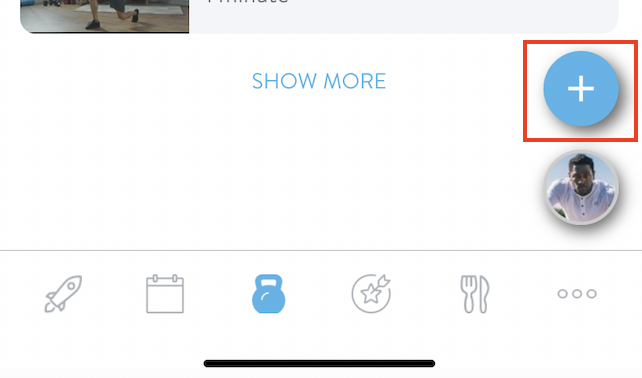
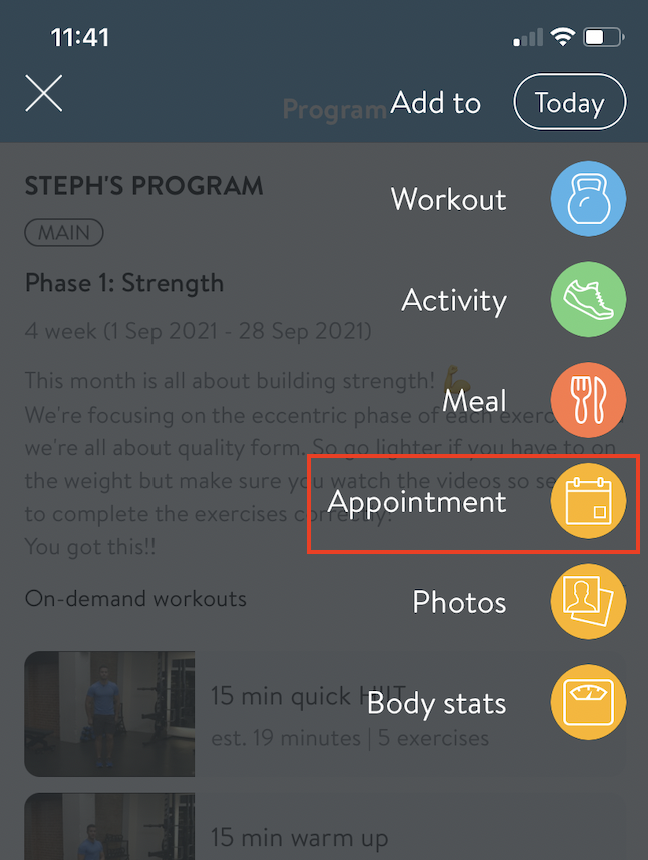
Although your clients can always access the Appointment feature at any time on their end (shown below), we wanted you to also have the ability to prompt them to schedule an appointment. In this article, we will cover how to send your clients a calendar through Messages and Groups.
This is where clients can access the access the appointment scheduling feature on their own. If they need help on how to schedule appointments, feel free to share this article with them.
Sharing an Appointment in Messages
Although Appointments can be shared on the web or mobile, the screenshots below will cover the mobile app steps.
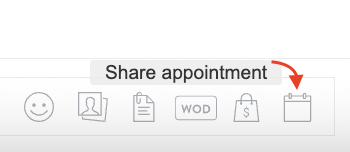
1. Tap on the Share Appointment icon.
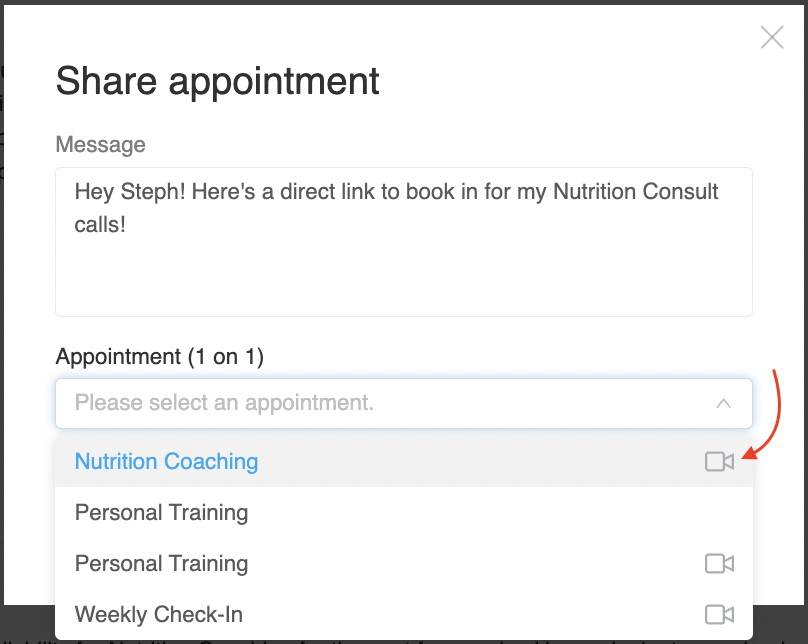
2. On the next screen, select the Appointment type and type in a message (optional).
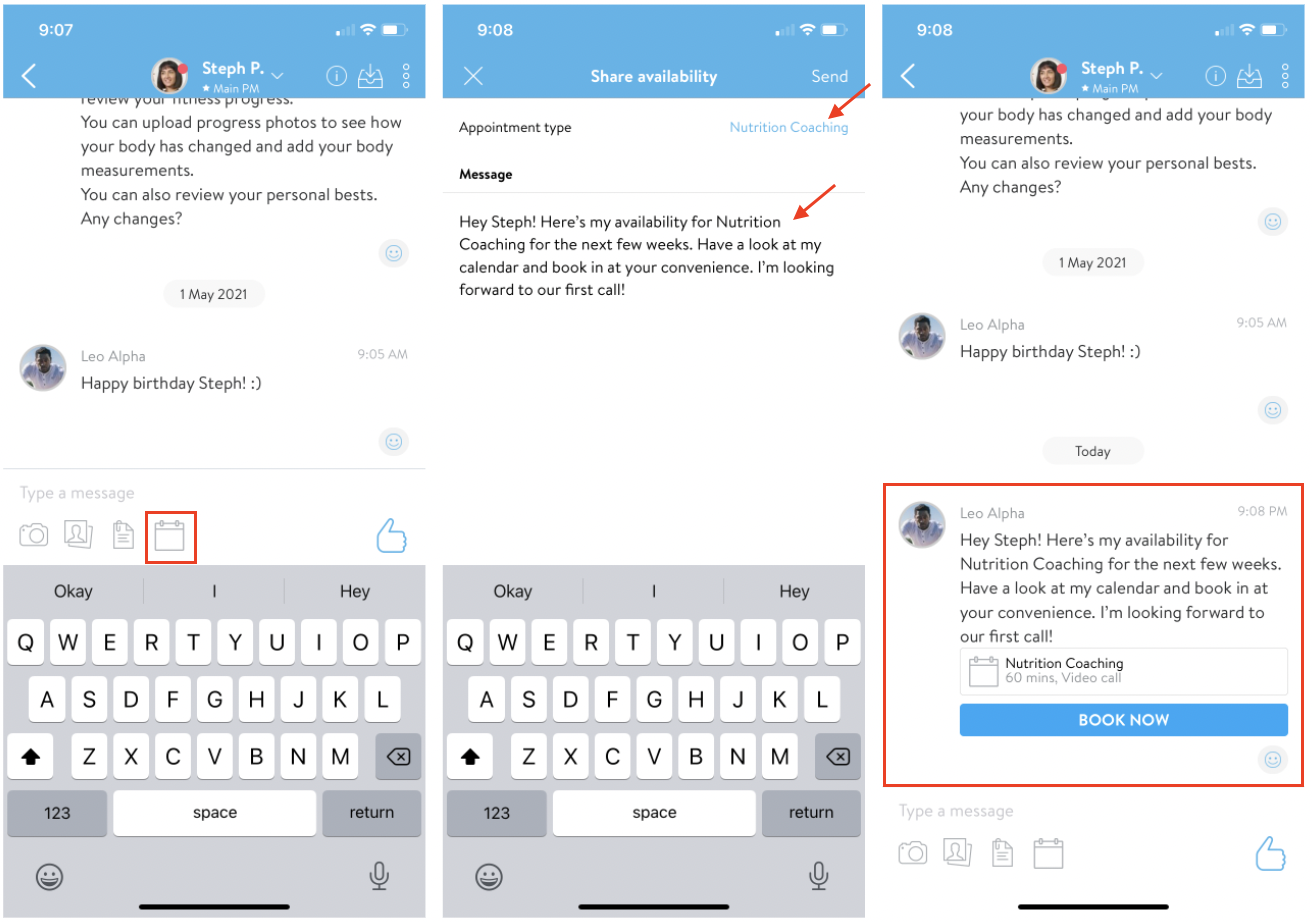
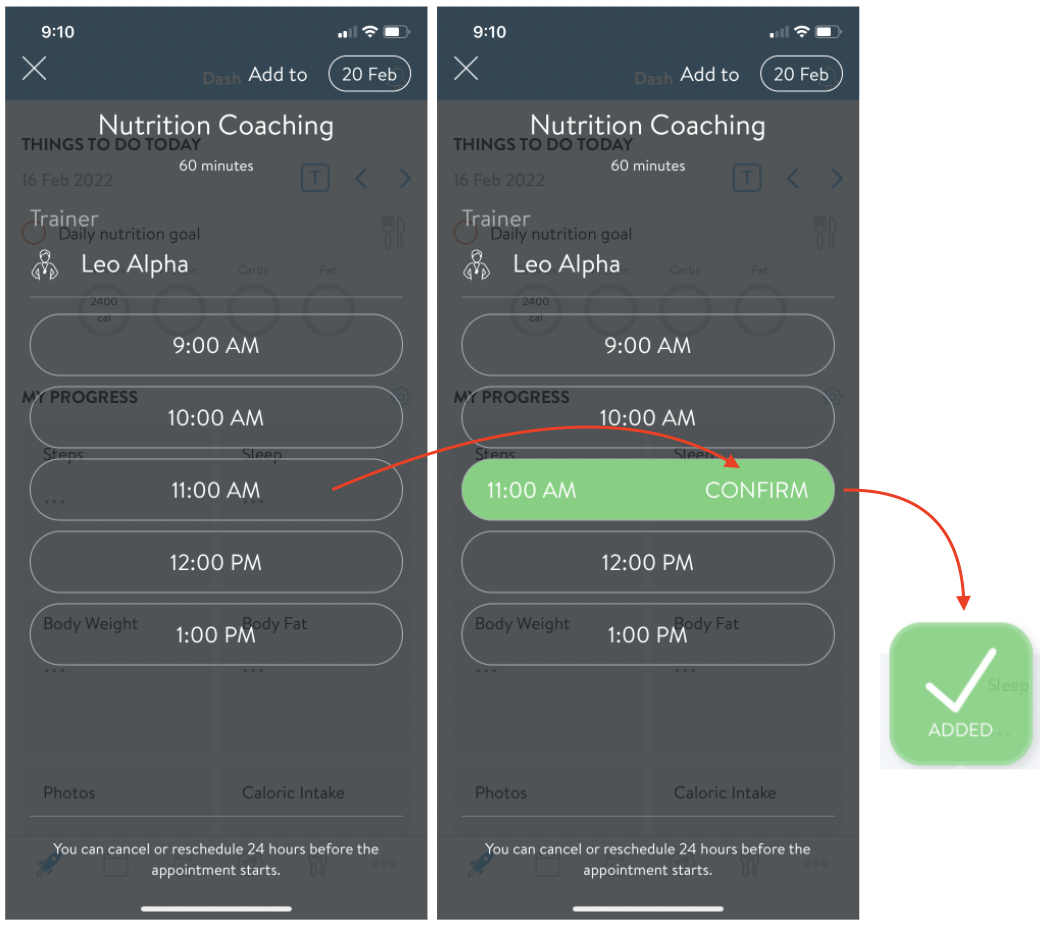
This is what is looks like on the client's end to select an Appointment and confirm the date and time:
Sharing an Appointment in Groups
Appointments can be shared the same way in a Group (through the Share Appointment icon).
Next, you type in an (optional) message and select the appointment you want to share.
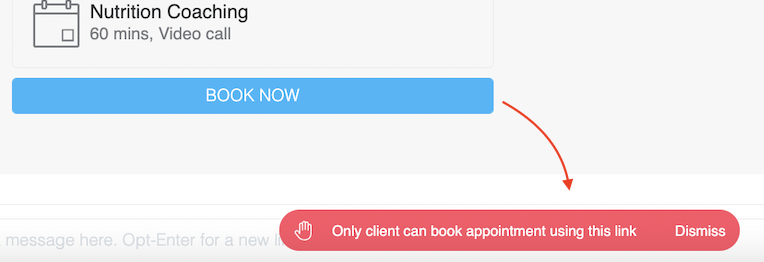
Please note, although trainers can schedule appointments on their and at any time, they cannot tap on the link that is shared in a one on one message or group message. They will get the message "Only clients can book appointments using this link".
